Follow Me on Pinterest
Showing posts with label cake pops. Show all posts

Friday, July 5, 2013

Gone Phishin'

This weekend is Phish weekend in our neck of the woods. My husband preps for the shows by listening to Phish 24/7 (which is pretty much the normal anyway...) and spending a ridiculous amount of time at the beverage center picking out what beers he wants to bring with him. I, on the other hand, prepare as I prepare for most life events...by baking! In years past I have made sugar cookies or cakes iced with the Phish logo. Last year, I made cookie bars topped with milk chocolate that I piped into the Phish logo. This year I decided to get really creative...

My idea was to create a dessert for each night that was a take on a Phish song. I challenged my husband to come up with the song choices for me. He came up with Bathtub Gin (which will be the inspiration for Sunday night's dessert) and Reba (tomorrow). Tonight was my idea.

As our 4 year old is coming with us tonight, I decided to make a very kid friendly treat - cake pops! Although as adorable as a traditional pop, these are a whole new level of cake pop.The inside is a maple cake crushed together with maple buttercream frosting and chopped up bacon. They are coated with a darker chocolate and topped with caramelized bacon sprinkles. 


What song could these possible be a take on you ask?! Why, Meatstick of course! Because it's meat, it's on a stick, and how could these crazy pops not "shock your brain"?!


Saturday, June 15, 2013

Cake Pop Secrets

Before I share these tips, I need to put it out there that I recognize the possible hypocrisy of this post. I've been focusing a lot on real food and cake pops are definitely not real food. Nearly everything I've read about real food acknowledges that sometimes we are going to have foods that are more industrial and less than perfect. With a kid in the house and my own love of baking and decorating, I am willing to admit that cake pops are going to happen. Not as often as I would have in the past, but every now and then I'm willing to let a pop slide by.

After lamenting the loss of many a cake pop in the past, I have finally devised an (almost) fool proof method for excellent cake pops. Here are my tips...

  1. Plan ahead! Ideally cake pop making should be spread over 2-3 days. First, the cake should be baked and cooled. Next, the frosting/ganache can be made and combined with the cake crumbs to create the cake balls. Lastly, the dipping and decorating can be done.
  2. If using boxed cake mix, replace most of the oil with water to make the cake firmer.
  3. Make ganache instead of frosting - the ganache works better as a glue to hold the pops together and majorly elevates the flavor of the pop.
  4. After you make them, the cake balls should be refrigerated until firm - at least 4 hours, best if left overnight.
  5. Take out your whole container of balls and dip the sticks in chocolate before inserting them into the pops. Once all sticks are inserted, place all the pops back in the fridge until you are ready to start dipping.
  6. Keep the chocolate you are dipping in thin by adding a few drops at a time of canola oil.
  7. Dip in small batches. Only take 1-2 pops out of the fridge at a time. This will keep the cake ball cold so that the chocolate hardens quickly and smoothly. 
  8. If you are drawing anything on (see the lacing on the baseballs) or attaching decorations do it as soon as the outer coat of chocolate is hardened and before the pop "warms up" too much. 
  9. After dipping, keep the pops at room temperature out of the fridge. Putting them back in and out creates condensation and stickiness of the pop which makes them hard to wrap up and less appetizing overall.
  10. Once wrapped try to keep in a cool, dry, dark place to prevent melting!

Friday, March 15, 2013

Friday Five: St. Patrick's Day Yummies!

Just in time for this St. Patty's Day this weekend I'm sharing some of the yummy things I've whipped up in the past week or so to celebrate at home, school, and work.

 
Start St. Patrick's Day off right with a well rounded breakfast. I used my favorite basic pancake recipe with whole wheat white flour and tinted with Wilton icing colors to get vibrant hues.

For the kiddos: "Rainbow" pancakes, banana "clouds", and a scrambled egg "pot of gold"
For the grown-ups: Rainbow silver dollars

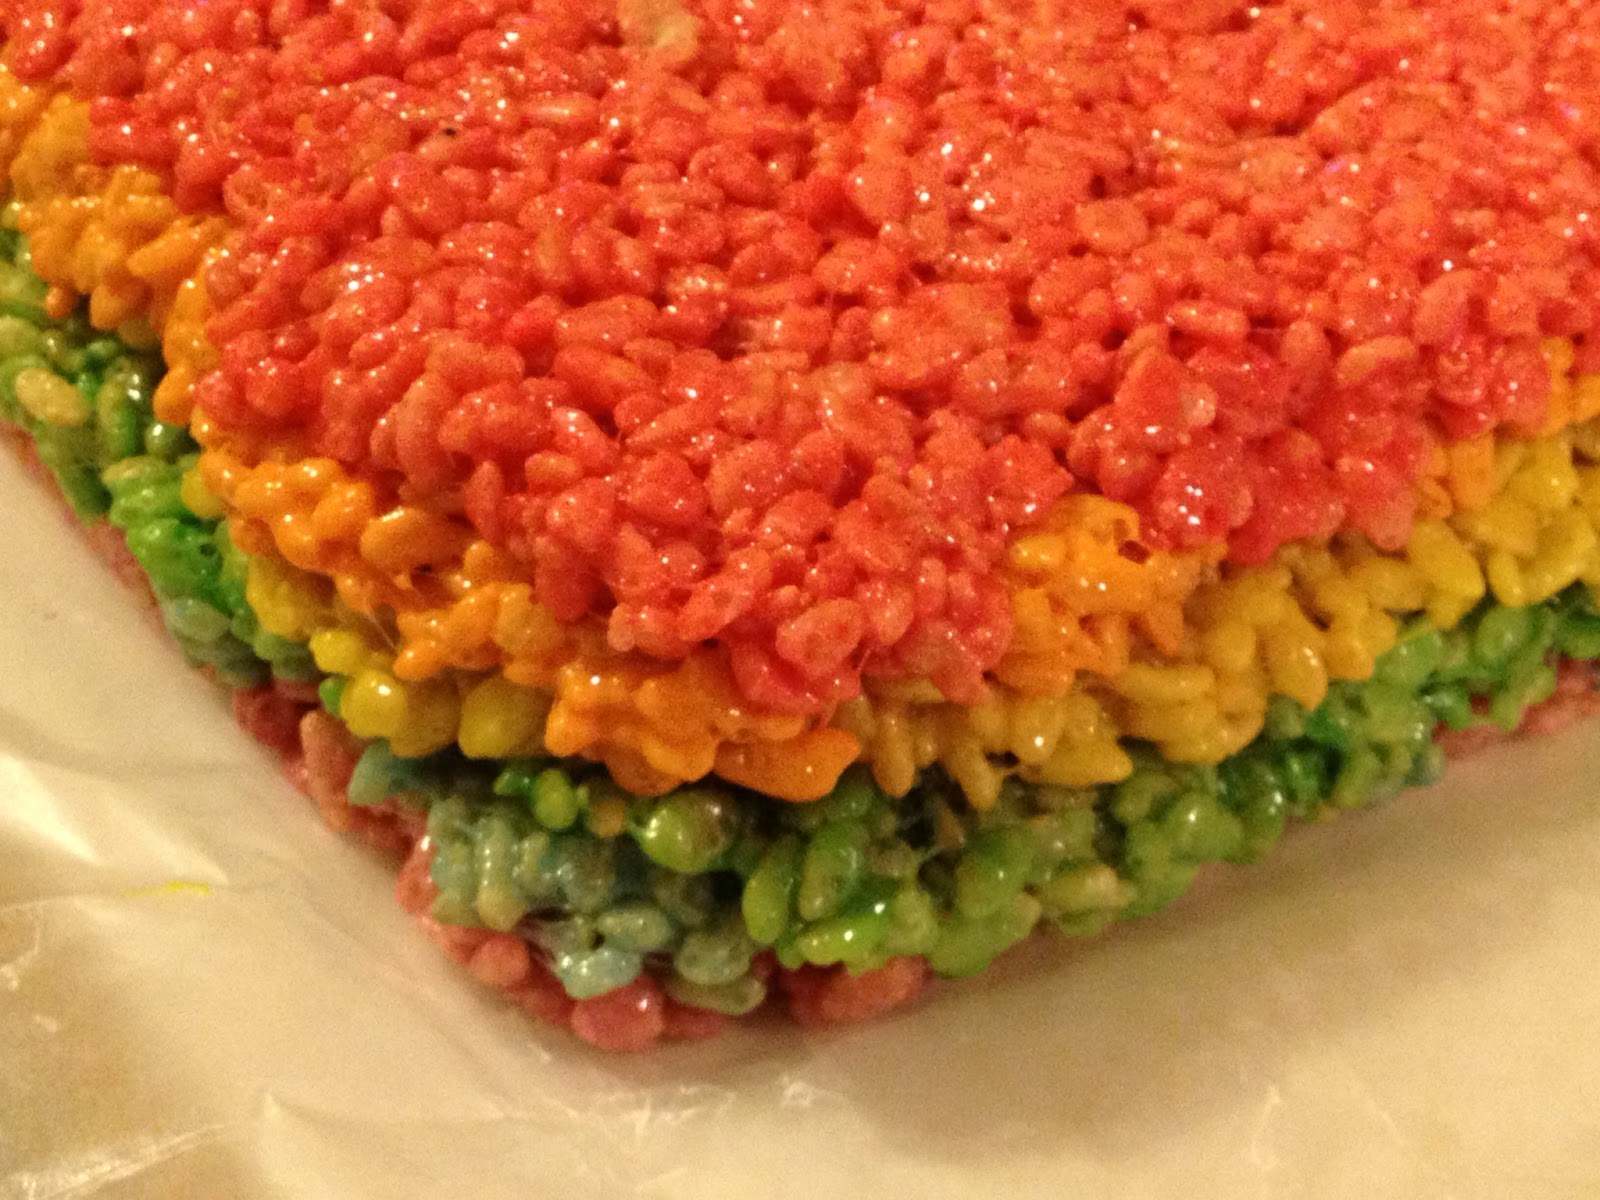
If you're looking for a treat that is colorful and only requires a few ingredients (but a bit of time to assemble), try out these rainbow rice krispie treats. I was inspired by this blogger, but I think that her recipe made them too crisp and if I made them again I would add more marshmallows and perhaps a dash of heavy cream during the cooking phase to make them chewier.

The colors didn't come out nearly as vibrant in this photo as they were in person
The in production shot before I portioned them...

These St. Patty's cake pops are stunners, but require MANY hours of dedication to create. I got the idea for a rainbow cake pop from this blogger's beautiful picture tutorial, but wasn't confident I could handle the wrapping of layers of cake without just squishing it all up into a mess. Instead, I opted to roll each color out between sheets of wax paper and then layered them in rainbow order. After a 6 hour rest in the fridge, I cut the big block of cake into small rectangles. I realled wanted to make sure they stayed together when dipping in the chocolate, so I rested them in the freezer for another 30-60 minutes before inserting the sticks and dipping them.
Funky lighting because I snapped this as they were chillin' in the fridge while I dipped another batch 

Outside: Green chocolate and some festive sprinkles

Inside: Surprise! Rainbow cake!
The poor lighting in my kitchen at 11pm when I finished these does not do them justice:-(
This "adults only" Guiness/Jameson/Bailey's cupcake will leave you with a buzz as well as a sugar rush. I shared these a few years ago (see my old post here) and have been making them yearly ever since.
 
Once again, not a great photo because I finished them at night and then I snapped this in our lunchroom just now


For those of you who are trying to behave and follow a diet (like me!) here's a healthy St. Patty's Day treat - Green Fruit Salad!
Diced kiwi, honeydew melon, and green grapes


Tuesday, February 19, 2013

One Recipe Two Ways

Last week I was churning out sweets and treats like you wouldn't believe. Overall, I was very happy with how things came out, but have been obsessing over the process I went through with my cake pops. I've done them before and although they always take forever, I've never been quite as ready to pull my hair out as I was with those Hello Kitty pops. The craziest part is that the decorating wasn't the hard part, it was getting the cake to stay on the stick! In line with my OCD personality, I've been obsessing about having a redo to prove to myself that it was the stupid box mix that created the issues and not my lack of skills.

As I had also promised my co-worker I would make another batch of red velvet cupcakes for her family, I came up with the following plan: double the batch of red velvet cupcake batter, use half for her cupcakes and half for a 9 x 13 sheet cake, make a single batch of marshmallow fluff frosting, and use the sheet cake to make cake pops. I did make one of the cake balls into a pop (and it worked perfectly!), but just made the rest into truffles. Have I mentioned that I hate how calling them "cake balls" sounds? I glam it up by calling them truffles. I present to you...

Red Velvet Cupcakes and Red Velvet Cake Truffles


All you have to do to make the truffles is:
  1. Crush the sheet cake by hand. 
  2. Set aside about a cup of crumbs. 
  3. Mash in all the remaining frosting left after you frost the 12 cupcakes. If the mashed up dough seems too wet, add more of the crumbs that you reserved. If not, chuck them in the garbage bin, use them as garnish, or eat them right then and there with your fingers. 
  4. Roll the dough into small 1-1/2 inch balls and freeze for 1 hour. 
  5. Melt 1/2 bag of dark chocolate morsels in a double boiler.
  6. Dip the balls and put on a baking sheet lined with wax paper.
  7. Refrigerate (or just set aside) until chocolate is set.
  8. Try not to eat them all in one setting...