Follow Me on Pinterest
Showing posts with label cookies. Show all posts

Thursday, September 4, 2014

One Smart Cookie

Today was my older daughter's first day of kindergarten. It was a huge day in parenting and I'm still trying to figure out how I feel about it all. Maybe tomorrow I'll be ready to talk about it.

What I am ready to talk about now is the adorable gift I made for my daughter to give her teacher. I originally saw the idea on Pinterest (where else?!) and knew I had to recreate it.


Simple enough, but (hopefully) it made the teacher's hectic first day a little brighter. 
Glass jar for less than $5 at Marshall's.
Homemade cookies.
Ribbon from my craft leftovers.
Cute saying copied from Pinterest.


I also used the tag as an opportunity to write a note to the teacher (on the back) offering classroom help. Being proactive allowed me to tell her exactly what day/time is best for me and to offer my knowledge as a pediatrician for lessons related to health.

Wednesday, September 3, 2014

Happiness is...

an adorable miniature M&M cookie sandwich!

This evening we celebrated the start of the 2014 school year at our daughter's new school with a welcome back picnic. Pizza was available by pre-order and the PTA provided drinks and paper products. Parents were asked to bring a dessert to share. Those with last names at the beginning of the alphabet were requested to bring a fruit and those at the end were asked to bring a dessert. As I always strive to make a good first impression and baking is a strong point for me, I was very happy to be at the end of the alphabet. Although I'm pretty sure I could have come up with some super fun fruit kabobs if the tables were turned...


I did not alter the recipe at all from the original on Annie's Eats, so I'll direct you there if you want to re-create these awesome little cookies. 

***I warn you not to worry that they will be too small if you stick with her advice on how to size them. Remember, you will be sandwiching two cookies together with buttercream - small is perfect!***

Monday, September 2, 2013

Brown Butter and Sea Salt Chocolate Chip Cookies filled with Nutella

Brown butter is, in a single word, amazing. It's my new obsession. I am in love with everything from the mild, nutty scent that wafts from the saucepan as it cooks to the rich, almost caramel flavor it lends to a cookie baked with it. I am featuring the recipe for nutella stuffed cookies in this post, but these chocolate chip oatmeal cookies with brown butter that I made for dessert last week got rave reviews as well.

If you've never had a cookie made with brown butter you can't possibly understand what you are missing. Please, do yourself a favor and make a batch (or two) of these cookies...


I'm not going to over-complicate this post and distract you from the task at hand (baking these cookies ASAP). Go visit Ambitious Kitchen for the full recipe and a great photo pictorial on how to add the nutella.

Disclaimer: My cookies spread a lot more than her's did. I definitely did the full two hours (a little longer) chill time in the fridge and even froze the stuffed dough disks for an extra 10 minutes after the first batch spread and it didn't make a difference. They might have spread because I used white whole wheat flour (I no longer purchase refined white flour) or replaced the white sugar with raw turbinado sugar. Honestly, this whole discussion can be ignored because it did not matter one teeny, tiny bit that they spread. They still were so delicious I wish I was eating one right now...but I can't...because my husband ate the last three hours ago...

Thursday, April 18, 2013

Brave Party: Eats and Treats

This post is dedicated to all of the yummy food we served at bug's Brave party. I originally was planning to cook traditional Scottish foods, but decided that was too involved to undertake with an infant at home and tried to go with simple, rustic foods with a bit of Brave inspired flare. I also tried to serve all the food on silver platters and wooden cutting boards to stick with the rustic/royal theme. As I mentioned before, I don't have pictures of many things because of the circumstances at the party and I'll just fill in the details.

Appetizer Table

  • Bread Dip (the green bowl sadly ended up on the table when I wasn't looking and crashed my careful plan for silver and wooden platters for all the food)
  • "Bulls eye" fruit platter made from Alpine melon, blackberries, and strawberries
  • Fresh grapes and cheese cubes (Sharp Cheddar, Monterrey Jack, and Tomato Basil Cheddar)
  • Assorted crackers and fresh breads
  • Wedge cheeses (Gouda, Swiss, Garlic and Herb goat cheese, Plain goat cheese) and kielbasa with assorted spreads (pepper jelly, spicy mustard, and corn relish)
I'm not sure how it happened, but I have no pictures at all of the main course. My menu included:
  • Baked ham
  • Chicken legs (marinade was based loosely on this recipe)
  • Mashed sweet potatoes
  • Buttered corn
  • Baby carrots
  • Fresh rolls
  • Fresh salad with strawberries and apples
  • Fruit skewers fashioned to look like arrows (melon cubes and strawberry arrowhead)
Again, we never got a photo of my dessert table which I obsessed over:-( In addition to the photos below, we also served raspberry thumbprint "spell cakes" and the "scottish sweet buns" (based on this recipe).

Brother bear cookies
Months ago I pinned a cute idea to make bear cookies, but then I stumbled upon the Wilton stackable teddy bear cookie cutters at Joann's and picked them up. I haven't done royal icing cookies in a long time, so I used the tutorial here to brush up on my skills. FYI - these cookies took FOREVER to make, it was a three night process!

Cotton Candy Wisps
I wanted to rent or buy a cotton candy machine to make wisps, but decided that would cost too much money so I just went to Hoffman's (a local extremely overpriced mini amusement park) and purchased two bags of the stuff.

Birthday Cake!
I was inspired by this cake I pinned at the beginning of my planning process. I purchased the figurines from the Disney Store online. I really wanted the sleek look of fondant, but hate how it doesn't taste good. Awhile ago I had pinned this recipe for a homemade marshmallow fondant and decided to try it out - it worked perfectly!

Sunday, March 3, 2013

Snicker-DO-dlles


Prior to a few months ago I had never made snickerdoodles. Whenever I was looking for a new recipe they never seemed "exciting" enough, so I would pass them over. Back in the fall I had pinned a recipe for pumpkin snickerdoodles and the pumpkin addict in me couldn't help making them. They were quite delicious and my bug really enjoyed them because the process of rolling the dough into balls, dipping in cinnamon sugar, and squashing them with a cup was fun for her.

The bug has a ridiculously detailed memory for a 3/4 year old and started asking me again this past week if we could make snickerdoodles. As we were getting together with some family this weekend, I told her we could make them on Saturday. I did a quick check of the pantry to make sure I didn't need anything at the store and saw what I thought was a can of pumpkin.

Fast forward to yesterday when we were literally 3/4 of the way through the recipe - the wet ingredients were mixing in our Kitchen aid while my bug was whisking together the dry ingredients - when I went to grab the can of pumpkin and discovered it was actually a can of evaporated milk with a picture of pumpkin pie on the front! Oops! As I was frantically looking around the kitchen trying to determine what I could use in place of the pumpkin (applesauce?? all out! bananas?? not ripe enough! ahhhh!), my bug was becoming more and more frustrated with the delay. Finally, she gave me a withering dirty look and said, "Mommy, just DO IT!"

So I did. I skipped adding the pumpkin and just added the flour mixture to the wet ingredients. The dough was WAY too thick, so I grabbed the fat free half and half from the fridge and added about 1/4 cup. The dough was still firmer than when we made the pumpkin version, but it was actually easier to roll.

I crossed my fingers and popped them in the oven. Wouldn't you know, they came out delicious! They were lightly spiced, sweet, and with a dense crumb that made them crisp to bite, but melt in your mouth buttery. Mmm, I think I'm going to go get one to dunk in my coffee right now!

Snicker-DO-oodles
For cookies:
1 cup butter at room temperature
1 cup sugar
1/2 cup lightly packed brown sugar
1/4 cup milk or half and half
1 egg
2 teaspoons vanilla extract
3 3/4 cup unbleached white flour
1 1/2 tsp baking powder
1/2 tsp salt
1 tsp ground cinnamon
1/2 tsp ground nutmeg
1/4 tsp ground ginger

For cinnamon sugar coating:
1/2 cup sugar
1 tsp ground cinnamon
sprinkle of ginger, nutmeg, and allspice

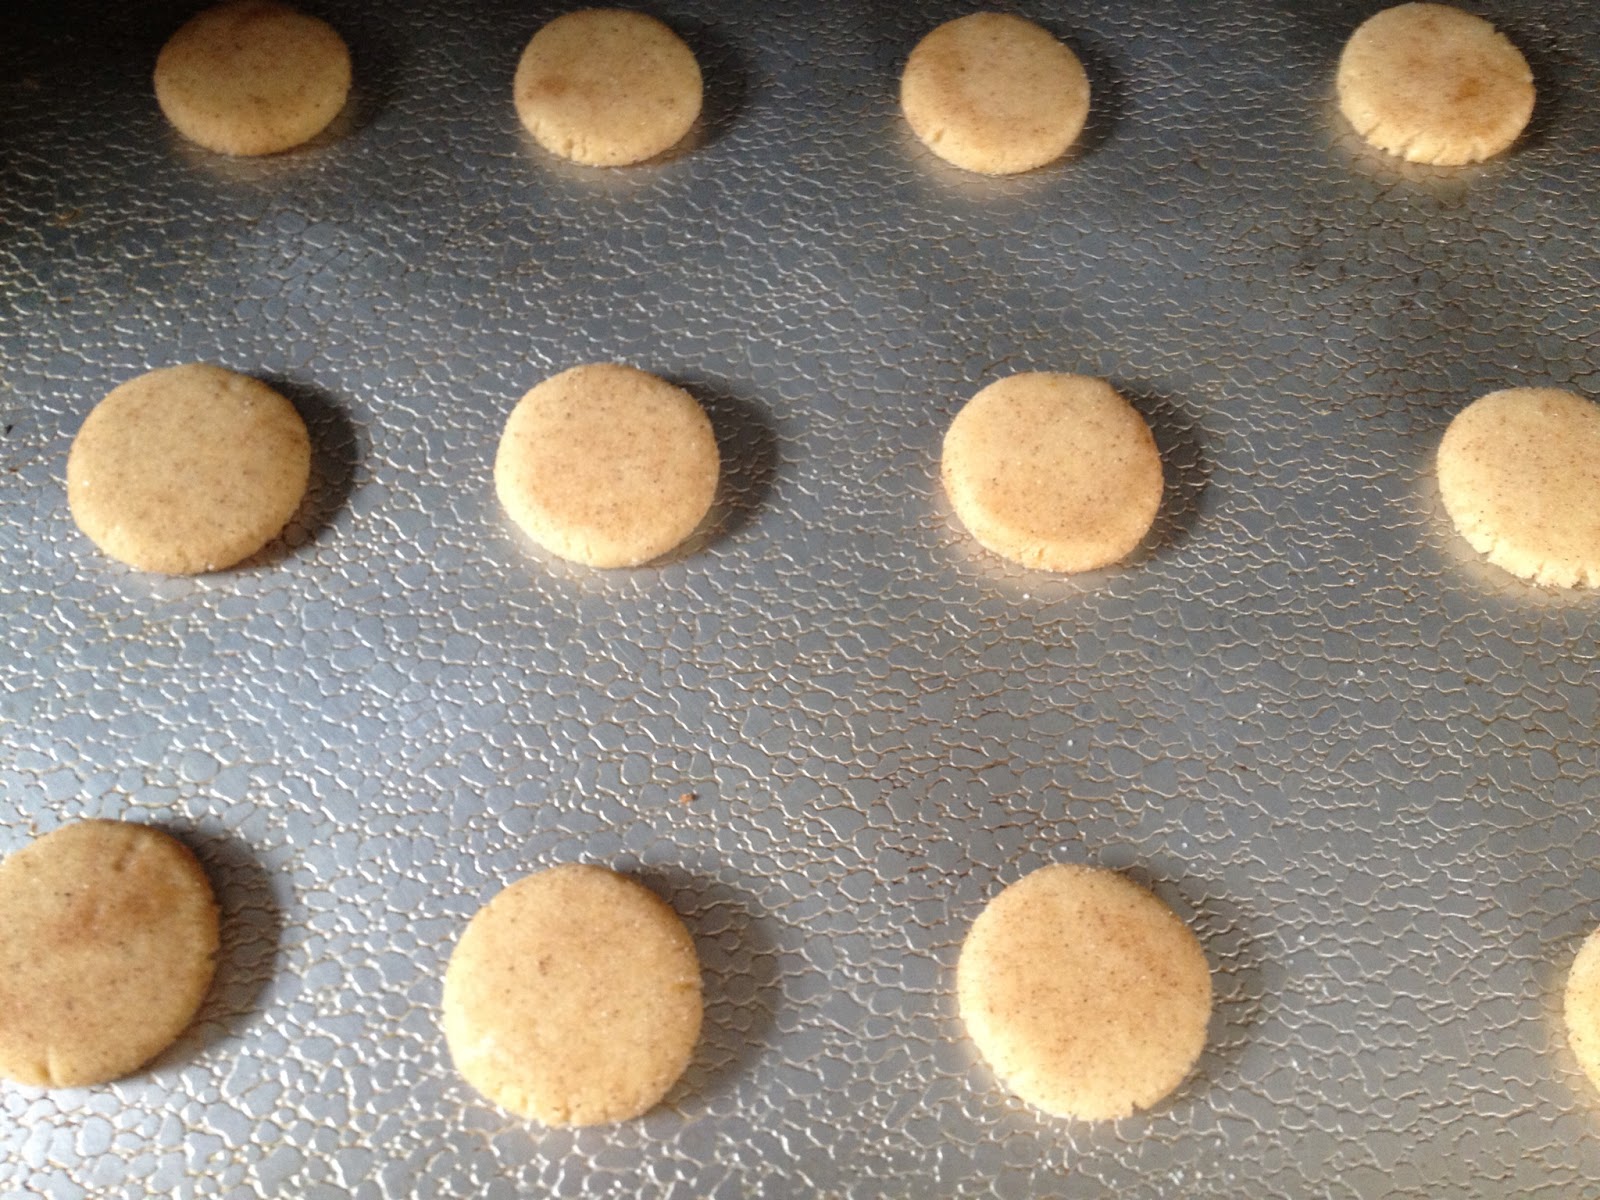
Flattened cookies on their way into the oven
Just baked on the cooling rack

  1. Preheat oven to 350 degrees.
  2. Beat butter and both sugars on medium speed for 2-3 minutes.
  3. Add egg and vanilla.
  4. In a separate bowl, whisk together all dry ingredients (flour, baking powder, salt, and spices).
  5. In small increments, add dry ingredients to the wet ingredients in the mixing bowl (warning: it will be very thick!)
  6. Add the milk to soften the dough up.
  7. Roll dough into balls (the size is up to you!).
  8. Coat balls in the cinnamon sugar mixture and place on a baking sheet.
  9. Use the bottom of a glass to flatten the cookies.
  10. Bake for 8 minutes if small cookies (bug made bite sized ones), 10-12 minutes if larger cookies.

Tuesday, February 12, 2013

Brown Butter Banana Bread Cookies


I almost always have bananas in various stages of ripening on my counter because I only like to eat them once they are yellow and just starting to turn a few brown spots - but if they get too many spots the deal is off and the idea of eating one literally makes me gag. Once they reach the perfect ripeness, I need to eat them within 48 hours or they become baking material. This insanity is why I am always on the lookout for good recipes to use up bananas. I pinned this recipe from Tracey's Culinary Adventures and tried it out as soon as I had a few overripe bananas.

The cookies themselves are completely yummy and stand alone nicely without the frosting...BUT, I couldn't help trying it out. Although I followed Tracey's cookie recipe quite closely, I changed the frosting significantly to cut down the WW points (with frosting 4 points plus, without frosting 3 points plus).

For the cookie recipe, see Tracey's site. I only altered the spices - 1 full tsp cinnamon, 1/2 tsp nutmeg, 1/4 tsp allspice, and 1/4 tsp ginger to make them stronger. I made 36 cookies by measuring level tablespoons.

For the frosting:
2 cups confectioner's sugar
1/4 cup butter
2-4 tbsp fat free half and half
1 tsp vanilla extract

Melt the butter in a small pan over medium heat. Swirl the pan frequently allowing the butter to cook until you start to see small brown flecks in it - be careful not to let the butter burn! Add the melted butter (make sure to scrape the yummy browned bits out too!) to a heat-proof bowl with you confectioner's sugar. Add vanilla and 2 tbsp of the half and half. Beat until well blended. If the frosting is too thick, add more half and half by the tsp until it is the consistency you want.


Wednesday, January 30, 2013

Oreo Cupcakes


I fear my blog is very bipolar these days. I'm flipping between healthy Weight Watchers recipes and super decadent desserts faster than yours truly a kid can devour a chocolate bar. It just so happens that January is a birthday heavy month for my family and friends while I am still (mostly) sticking to my new diet. And honestly, I just LOVE to bake - birthdays or no birthdays, diet or no diet.


The recipe I am sharing today is one of those that didn't have an occasion. I stumbled across a few different recipes using Oreo cookies on one of my favorite cooking blogs (Annie's Eats) and couldn't get them out of my head until I gave it a try. I followed her recipe for the cupcakes exactly. I intended to top them with a marshmallow frosting I pinned awhile back.

Following the directions, the frosting came out beautifully - nice pillow-y, shiny peaks of lightly sweetened, fluffy goodness. Then, I had the brilliant idea to add crushed Oreos, destabilized it, and turned it into soup. The second time around I stuck with a classic buttercream and balance was restored to the universe as cake and frosting came together to create these delicious treats.


Buttercream Frosting
2 sticks of butter, at room temperature
2 1/2 cups confectioner's sugar
1 tsp vanilla extra
1 tbsp heavy cream

  1. Beat the butter in the bowl of a stand mixer for a full five minutes on medium speed until it is whipped
  2. With mixer on low, add the confectioner's sugar gradually until all is incorporated
  3. Scrape down the sides of the mixer with a rubber spatula
  4. Add the vanilla and heavy cream
  5. Beat for 2 minutes on medium/high speed
  6. Use pastry bag to pipe frosting
  7. Sprinkle with crushed Oreos (if desired)

The secret surprise in these cupcakes: half an Oreo in the bottom of the cupcake liner!
My little taste tester - note: she only eats her cupcakes with LOTS of added sprinkles